
After selecting the desired Safe Mode to access, Windows 10 will boot to that specific type of Safe Mode. Now, in theStartup Settings, you will see what you can change after restarting your Windows. Now you will see a blue screen, with three options. This one seems easier than the last method to boot Safe Mode in Windows 10, and has more options. Using this method, you can also boot into Safe Mode with Networking and Safe Mode with Command Prompt. Press Windows logo key + R to open Run dialog box.
Linux deals with screenshots similarly to Windows, but a little bit better. You have several keyboard shortcuts for different kinds of screenshots. So, if you require the above features, you may choose to try the tools we mentioned in http://driversol.com/drivers/hp/ the first part of this article. However, if you want to take a screenshot with little-to-no features required to tweak, the native methods should suffice. Next, you need to launch the Paintapplication and then press Ctrl + V to paste the image. Finally, you need to save the image as an image by pressing Ctrl + S.
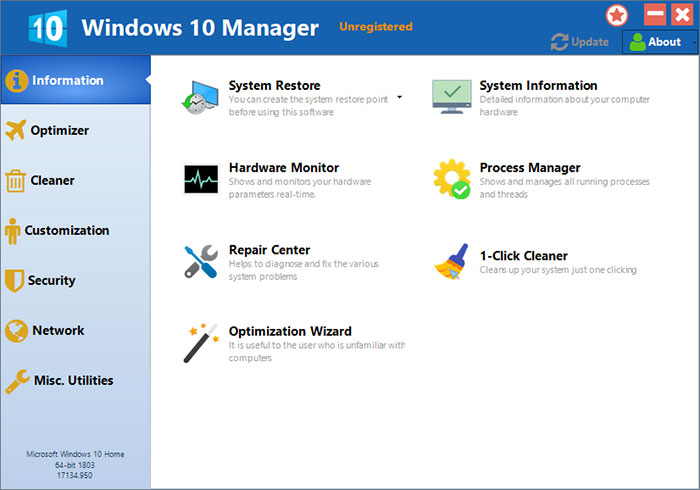
Starting a Computer in Safe Mode
For Windows 10, this is a rare thing, and you’ll have to solve this by booting into a recovery drive. Use the diagnostic and troubleshooting tools within it to try to work out a solution to the problem. Resetting your office PC to factory settings removes any applications and files installed on the system as well as any third-party device drivers and personal settings. If your copy of Windows came on a USB flash drive, or you have a Windows product key and no installation disc,download a Windows 10 disk image from Microsoft.
- We’ll walk you through the many ways you can capture an image of your desktop, from pressing a few keyboard buttons to employing screen casting software.
- Windows 10 comes with a built-in “Automatic Repair Mode” that automatically gets triggered if your system fails to boot three times in a row.
- Moreover, you can enjoy listening to your favorite songs, watch movies and finally end up having an amazing time.
Then, click and drag the crosshairs to select part or all of your screen. Download a free trial of Snagit to quickly and easily take screenshots of your computer screen, mark them up, and share them. Simply position your mouse to the corner of the area you’d like to capture, click it, hold and drag until the entire area is selected then let go.
Solution 3 – Snipping Tool
You can chat in real time with Skype—right from your inbox. Protection delivered by the same tools Microsoft uses for business customers. Moreover, Herol can explore the city at his leisure while Chilia is busy, allowing him to hang out with friends, visit the bar, and even fall in love with one of several candidates. He can also help rebuild the city’s post-war state and aid victims of the strife. Our website is free for home use (money-wise, but also free of ads and junkware) because Pro users keep Ninite running.
Nowadays, you can just crop up the portion that you want to save, and some even allow you to do editing right after you have captured the image. Once the app is launched, click on the New button to start the screenshot capturing process. Now, press and hold the mouse and drag it over the area that you want to capture.